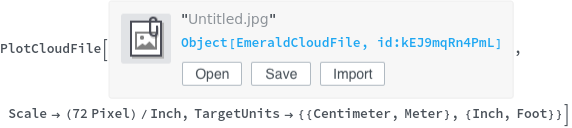
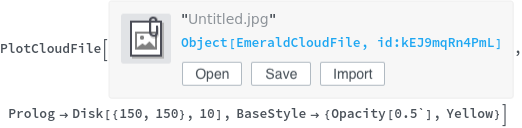
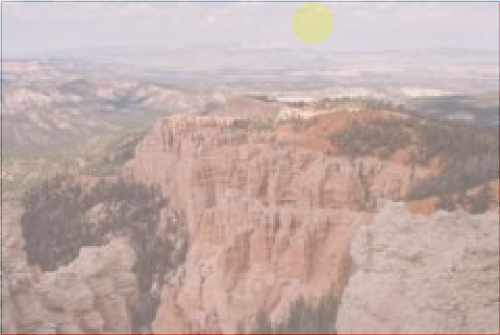
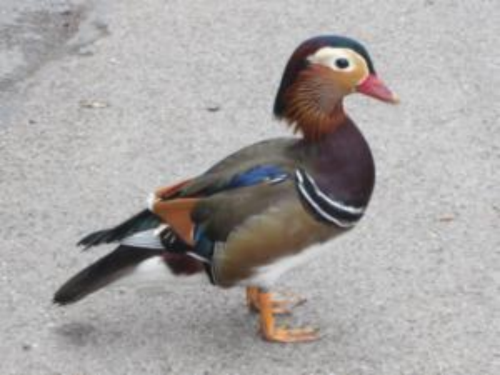
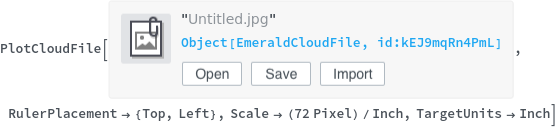
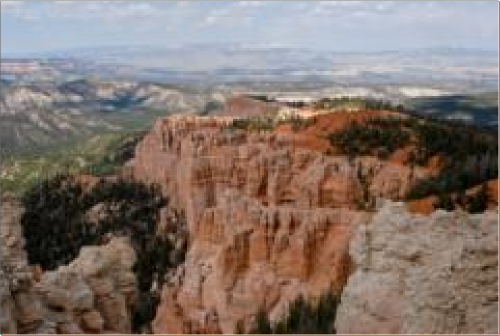
PlotCloudFile
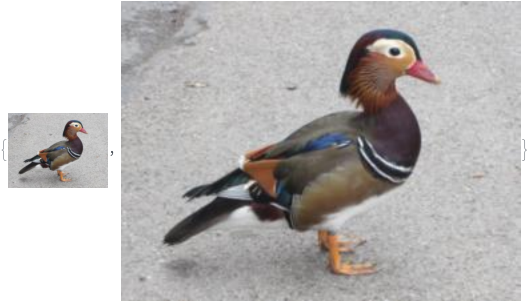
PlotCloudFile[cloudFile]⟹preview
creates an image or snippet of the file contents of cloudFile.
PlotCloudFile[cloudFiles]⟹previews
creates a list of images or snippets of the file contents of cloudFiles.
Details
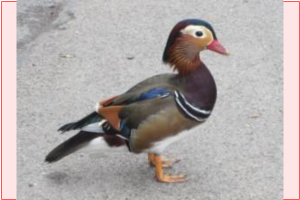
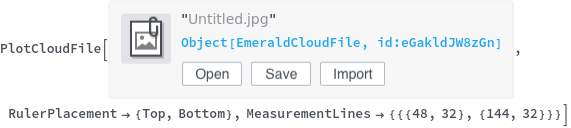
- Measurement lines can be added using Ctrl+LeftClick.
- Measurement points can be moved by RightClick+Dragging.
- Measurement lines can be removed using Ctrl+RightClick.
- If the file is not imported as a graphic, image, or string, the output will be Null.
Input

Output

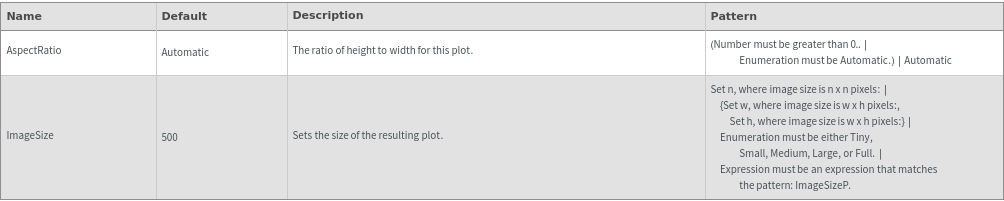
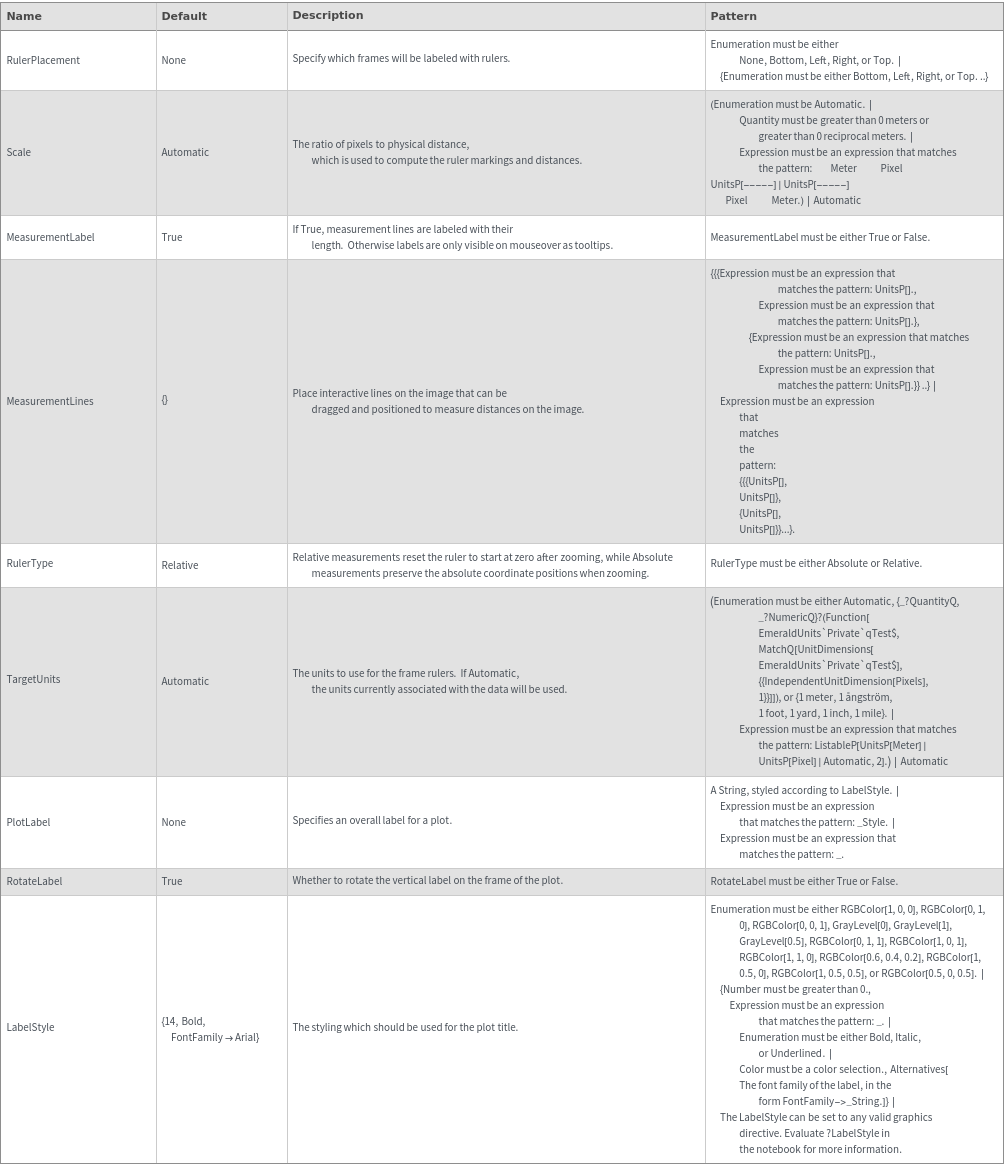
Frame Options

Image Format Options
Plot Labeling Options
Plot Style Options

General Options

Examples
Basic Examples (3)


Additional Examples (2)


Options (20)

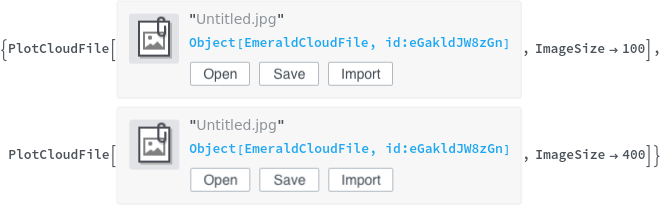
Background (1)

ImageSize (2)


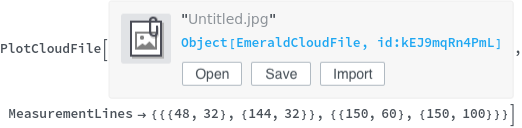
MeasurementLines (4)


Prolog (1)


RulerType (2)


Scale (1)

TargetUnits (3)
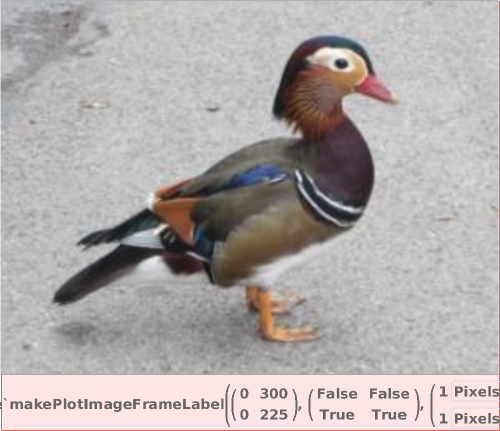
Specify distance unit for frame rulers. Note that the Scale needs to be specified together with the TargetUnits:
Display the side rulers in Inches and the top and bottom rulers in Centimeters. Note that the Scale needs to be specified together with the TargetUnits:

Specify a different distance unit for each frame ruler. Note that the Scale needs to be specified together with the TargetUnits: